
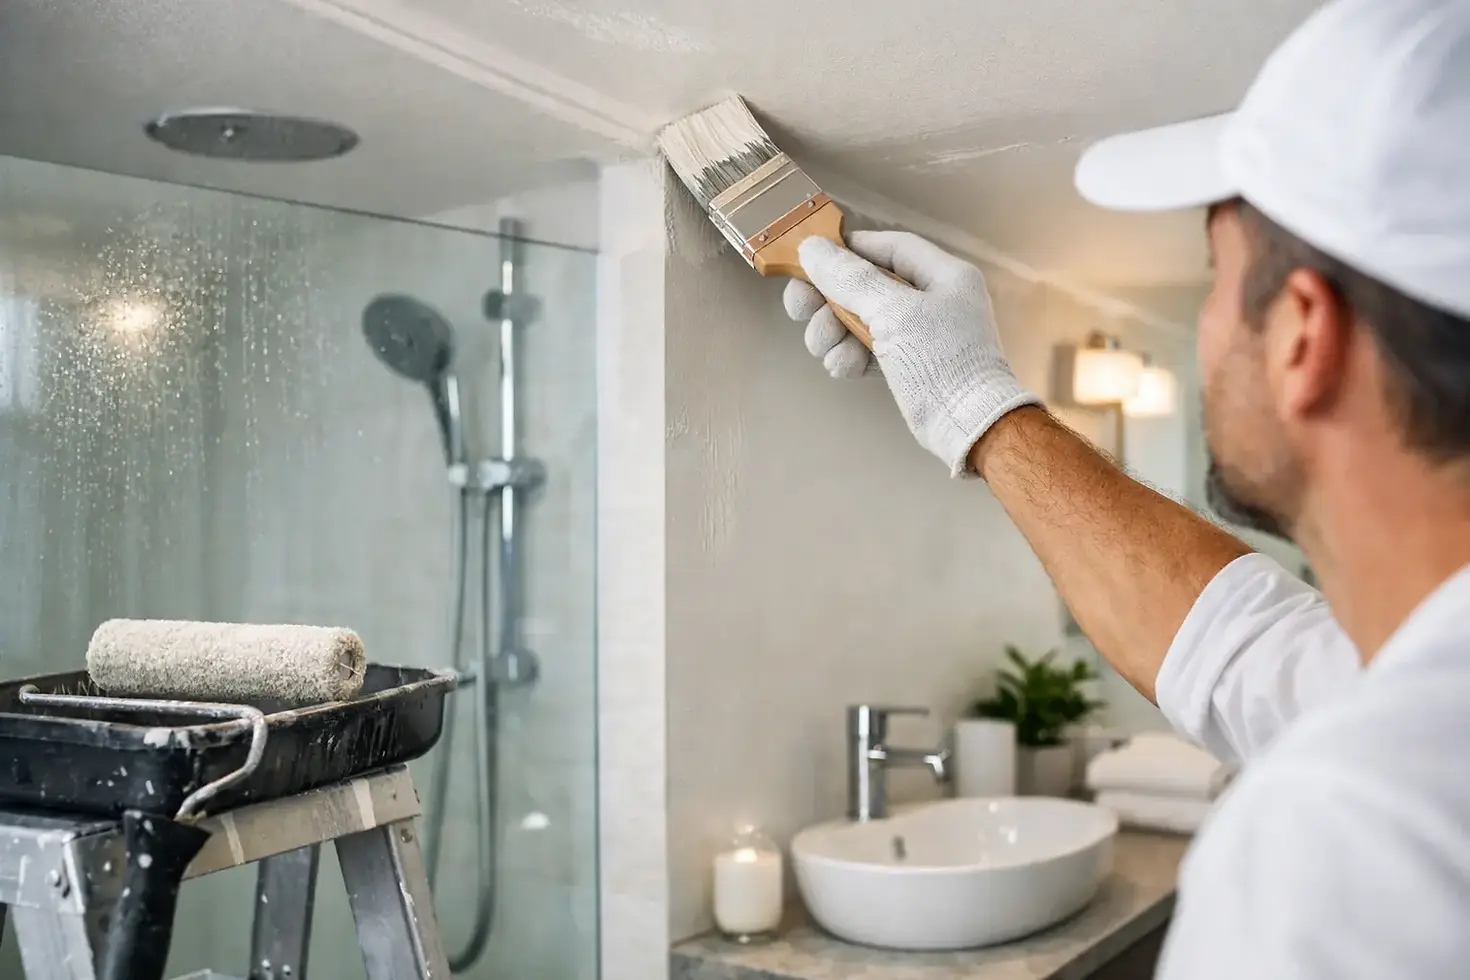
Best Paints for Humid Bathrooms That Last
- Painting and Decorating Experts

- Aug 4
- 5 min read
A bathroom can look freshly painted on Friday and show the first signs of trouble within months if the coating is not suited to steam, condensation and regular cleaning. The best paints for humid bathrooms are not chosen on colour alone. They form part of a complete paint system that starts with a dry, sound surface and finishes with sensible ventilation.
For homeowners and property managers, the aim is straightforward: a clean, durable finish that resists moisture, is easy to maintain and does not begin peeling around the shower, vanity or ceiling. Here is what to look for before painting a humid bathroom.
What makes bathroom paint different?
Bathrooms experience conditions that most other rooms do not. Warm showers create moisture-heavy air, which settles on cooler walls and ceilings as condensation. Add splashes near basins and baths, plus regular wiping and cleaning, and ordinary wall paint can struggle.
A suitable bathroom coating needs good adhesion, a washable surface and resistance to moisture in the air. It should also allow the wall system to perform as intended rather than trapping existing dampness behind a new film. Paint is not a solution for water leaks, failed waterproofing or ongoing rising damp. Those issues must be identified and repaired first.
In Melbourne homes, bathrooms can be particularly prone to condensation during cooler months, especially in older properties with limited extraction or little natural airflow. Even a high-quality coating will have a shortened life if steam has nowhere to go.
Best paints for humid bathrooms: the right paint type
For most bathroom walls and ceilings, a premium interior water-based acrylic coating formulated for wet or high-humidity areas is the practical choice. These coatings are designed to withstand bathroom conditions better than standard interior wall paints, while offering lower odour and easier clean-up during the job.
Look for a coating intended for bathrooms, kitchens or other moisture-prone interiors. The label should indicate that it is washable and suitable for humid environments. Some paints also include mould-resistant properties. This can help protect the paint film, but it is not a substitute for removing existing mould or improving ventilation.
Oil-based coatings have traditionally been used in some wet areas because they dry to a hard finish. However, they can have stronger odours, take longer to dry and may yellow over time, particularly in areas with limited daylight. They are more commonly considered for selected timber or metal trim than for entire bathroom walls and ceilings. The right system depends on the substrate, existing coating and condition of the room.
Choose the finish for the surface, not just the look
The sheen level matters almost as much as the paint type. Higher-sheen finishes generally create a tighter, easier-to-clean surface, while flatter finishes are better at disguising minor imperfections.
For bathroom walls, low sheen, satin or semi-gloss finishes are commonly used. A low-sheen bathroom coating can provide a contemporary look while still being washable, provided it is specifically made for humid areas. Satin and semi-gloss finishes offer stronger resistance to wiping and splashes, making them useful around vanities, toilets and family bathrooms that receive frequent use.
Ceilings need special consideration. A purpose-made bathroom ceiling coating in a low-sheen or matte finish is often the best approach, as it reduces glare while addressing the condensation that rises after a shower. Standard flat ceiling paint is more likely to absorb moisture and develop staining or mould where ventilation is poor.
Very glossy paint is durable and easily wiped, but it highlights patching, roller marks and uneven plaster. In a bathroom with older walls or previous repairs, the finish can look harsher than expected. Good preparation and careful application are what make a higher-sheen finish look neat rather than clinical.
Preparation decides whether the paint lasts
The most suitable paint will not bond properly to a dirty, chalky or damp surface. Bathroom preparation takes time because it addresses the causes of paint failure before the first coat goes on.
Start by checking for leaks around showers, baths, toilets, windows and plumbing penetrations. Staining, soft plaster, swollen skirting boards or recurring paint bubbles can point to moisture entering the building fabric, not simply surface humidity. Painting over these signs may improve the appearance briefly, but the problem will return.
Any mould must be treated and removed in line with the product directions and safe work practices. The area then needs to dry thoroughly. Painting over visible mould is not a lasting repair, as spores and moisture can remain beneath the coating.
After cleaning, loose and flaking paint should be scraped back, glossy surfaces sanded for adhesion, and cracks or dents repaired with an appropriate filler. Dust must be removed before priming. Where bare plaster, repaired areas, stains or a difficult existing surface are present, the correct primer helps create an even base for the topcoats.
This is also the point to assess silicone joints. Paint does not adhere reliably to silicone, and deteriorated sealant around wet-area fixtures should be dealt with separately. Keeping paint, caulking and sealant tasks properly defined results in a cleaner finish and fewer premature failures.
Do not confuse paint with waterproofing
Painted walls outside a shower enclosure are one thing. The surfaces inside a shower recess, behind tiles or in direct and constant contact with water are another. These areas rely on compliant waterproofing and suitable wall finishes, not ordinary decorative paint.
If paint is peeling beside a shower or bath, determine whether it is caused by everyday condensation, splashback, a failed seal or water getting behind tiles. Each requires a different repair. Applying another coat without finding the cause can conceal a more serious maintenance issue.
The same principle applies to bathroom ceilings. Peeling directly above the shower often suggests prolonged condensation, but it can also indicate a roof or plumbing leak. A professional inspection is worthwhile where staining is localised, persistent or accompanied by soft plaster.
Application habits that protect the finish
Bathroom painting should be scheduled so the room can remain dry while the coating cures. Follow the manufacturer’s stated drying and recoating times, but remember that cool, damp conditions can extend them. Running hot showers too soon can interfere with cure and reduce the durability of the new finish.
Apply the recommended number of coats over the prepared and primed surface. Thin, rushed coats may look acceptable initially but can leave weak coverage and reduced protection. Consistent cutting-in, even roller application and adequate drying time help create a uniform film that is easier to clean.
Good ventilation during and after painting is also essential. Use the exhaust fan where appropriate, open windows if weather and security allow, and avoid introducing excess steam until the paint has cured. In occupied homes, careful planning keeps disruption to a minimum while giving the coating the conditions it needs.
Ventilation is the long-term maintenance plan
The best bathroom paint still needs help from the room itself. An exhaust fan should run during showers and continue afterwards to clear moisture from the air. If the fan is noisy, weak or not vented effectively, it may not be doing enough to protect the ceiling and upper walls.
Simple habits make a difference: keep the bathroom door or window open after use where practical, wipe heavy condensation from glass and tiled surfaces, and avoid leaving wet towels in a closed room for long periods. Regular cleaning with a mild, non-abrasive cleaner also prevents soap residue and grime from holding moisture against the painted surface.
Check high-risk areas every few months, including the ceiling above the shower, window reveals, corners behind doors and walls near the vanity. Early staining, mould spotting or paint lifting is easier to address before it spreads into a larger repair.
For a bathroom that remains presentable and protected, select a moisture-resistant interior acrylic system in an appropriate sheen, prepare every surface properly and keep humidity under control. The finish will only be as reliable as the surface beneath it and the ventilation around it.


